RunPod Development Environment
RunPod gives you on-demand cloud GPUs for FastVideo development. It's useful when you need a beefy GPU to test training runs, benchmark inference, or reproduce results without waiting for shared cluster time.
Prerequisites
- A RunPod account with billing configured
- An SSH key pair. If you don't have one, generate it with
ssh-keygen -t ed25519 - Your public key (
~/.ssh/id_ed25519.pub) ready to paste into RunPod
Step 1: Create a Pod
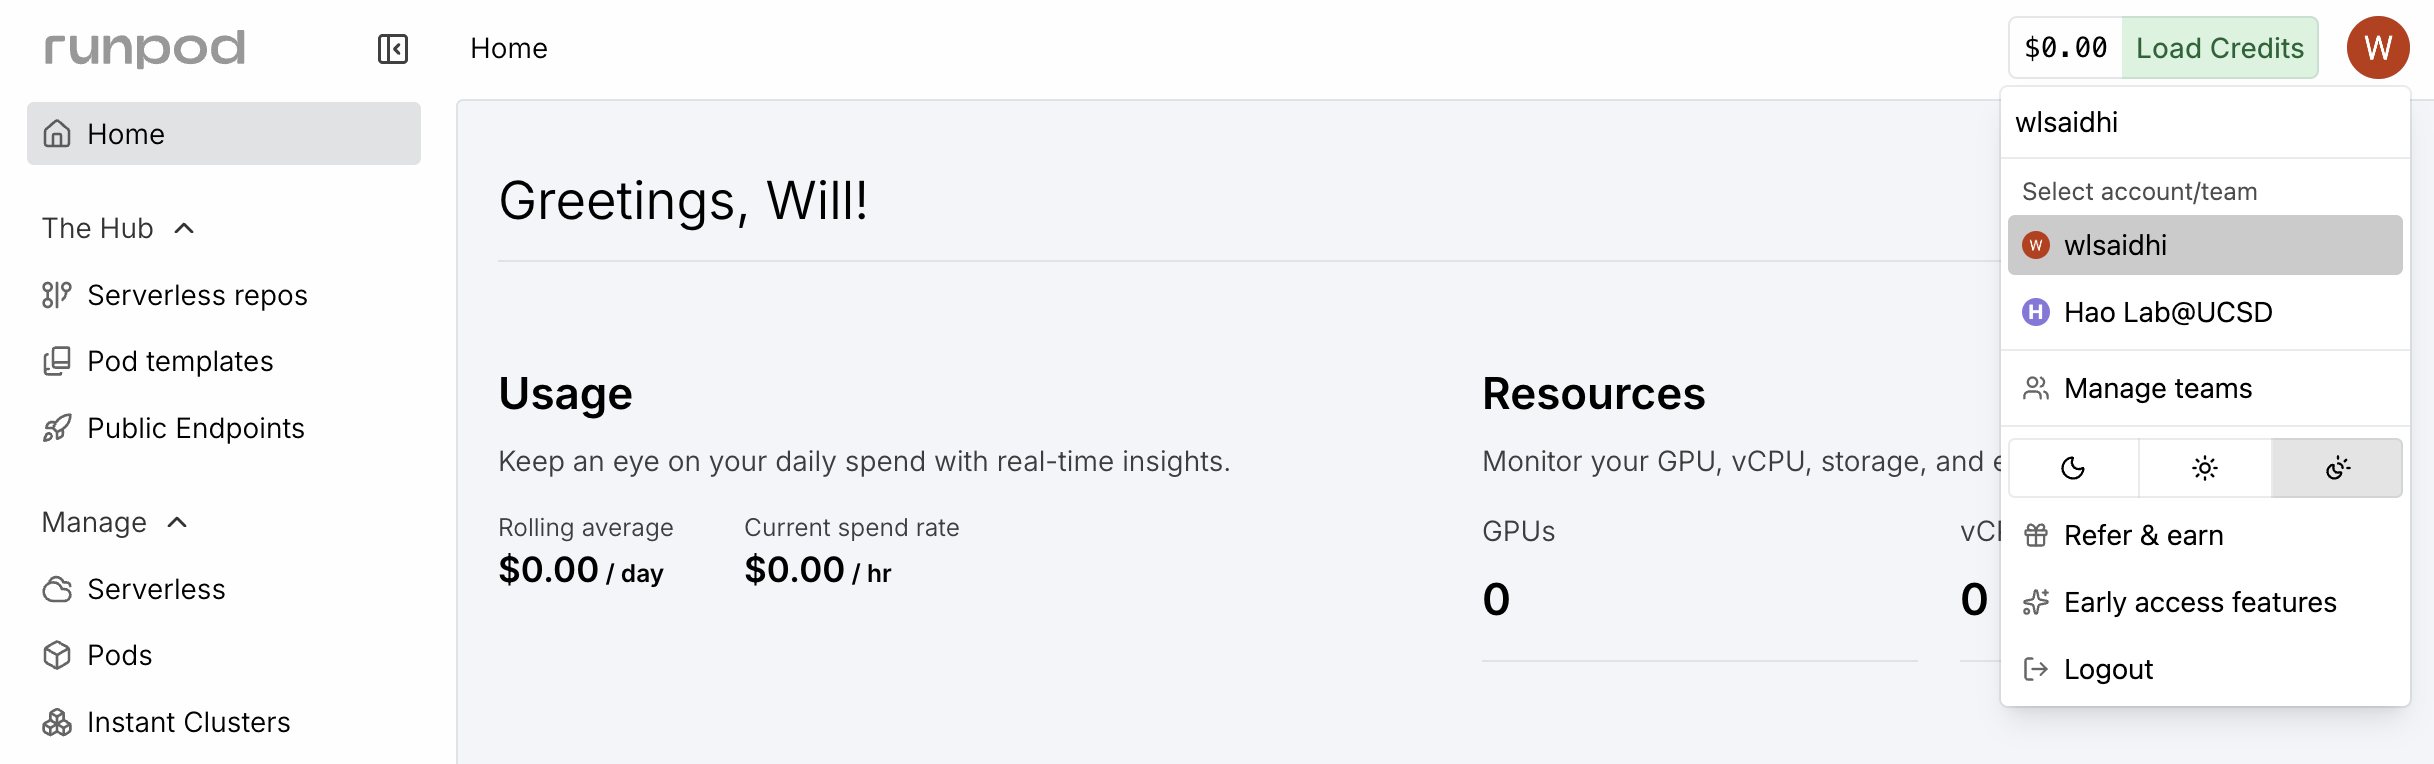
1. Verify your account
Make sure you're logged into the right RunPod account before spending credits.
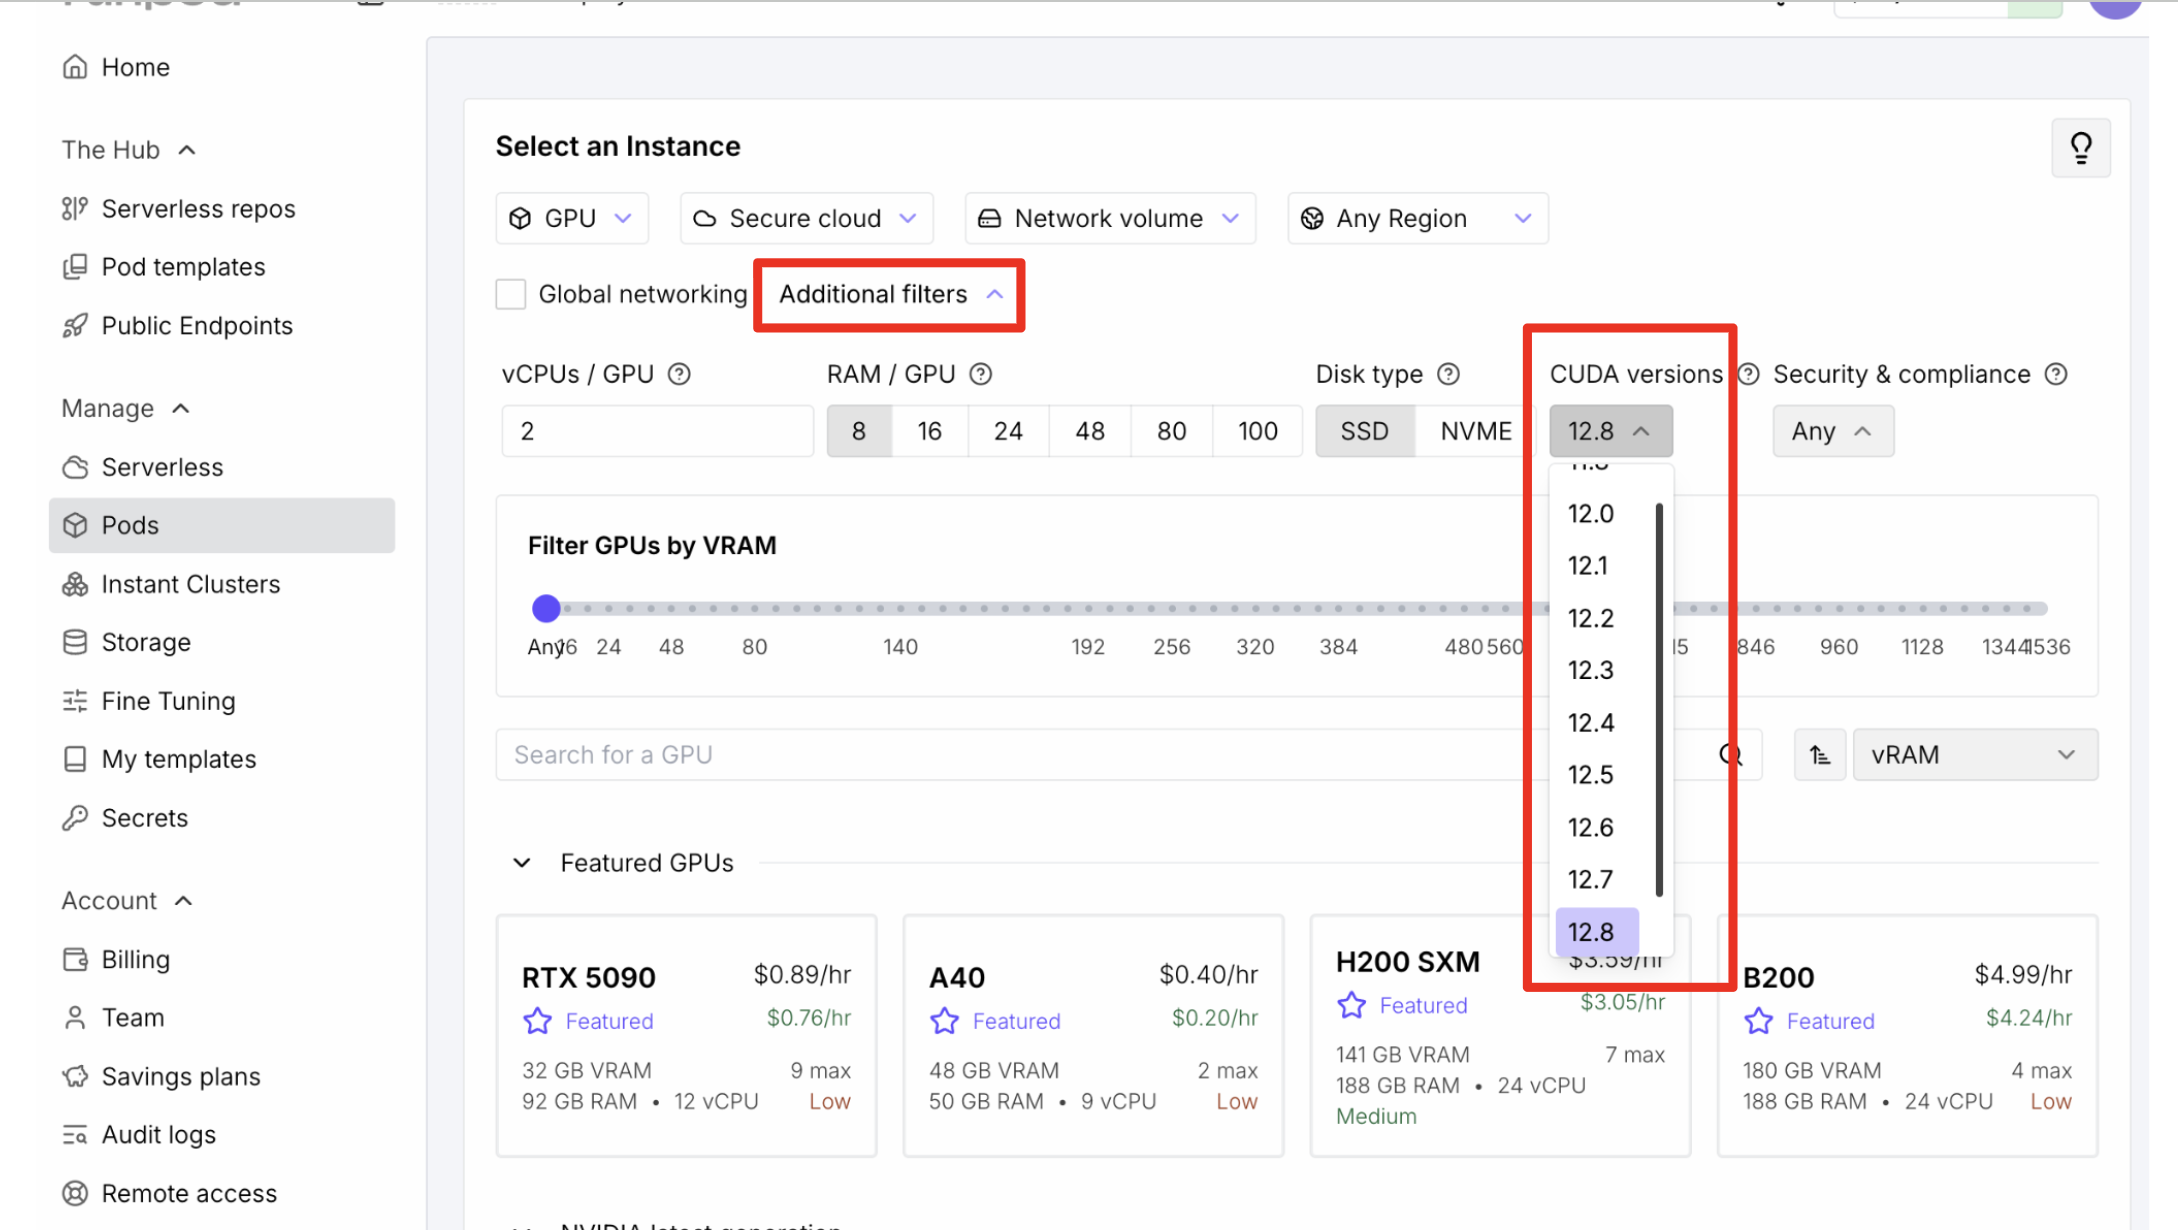
2. Filter by CUDA version
Use "Additional Filters" to select a CUDA version supported by the FastVideo template.
3. Select a GPU
Click "Deploy" and pick a GPU. See GPU Recommendations below for guidance on which GPU to choose.
4. Pick the FastVideo template
Select the "FastVideo" or "fastvideo-dev" Pod Template. This pulls the pre-built image that includes all dependencies, Flash Attention, and a ready-to-use uv environment.

5. Name your pod
Use a memorable name like yourname-fastvideo-2026-03-28. This helps if you have multiple pods running.
6. Add a persistent volume (recommended)
Attach a network volume to /root/.cache or /models for storing downloaded model weights. Models can be 10-50 GB each, and re-downloading them every session wastes time and bandwidth.
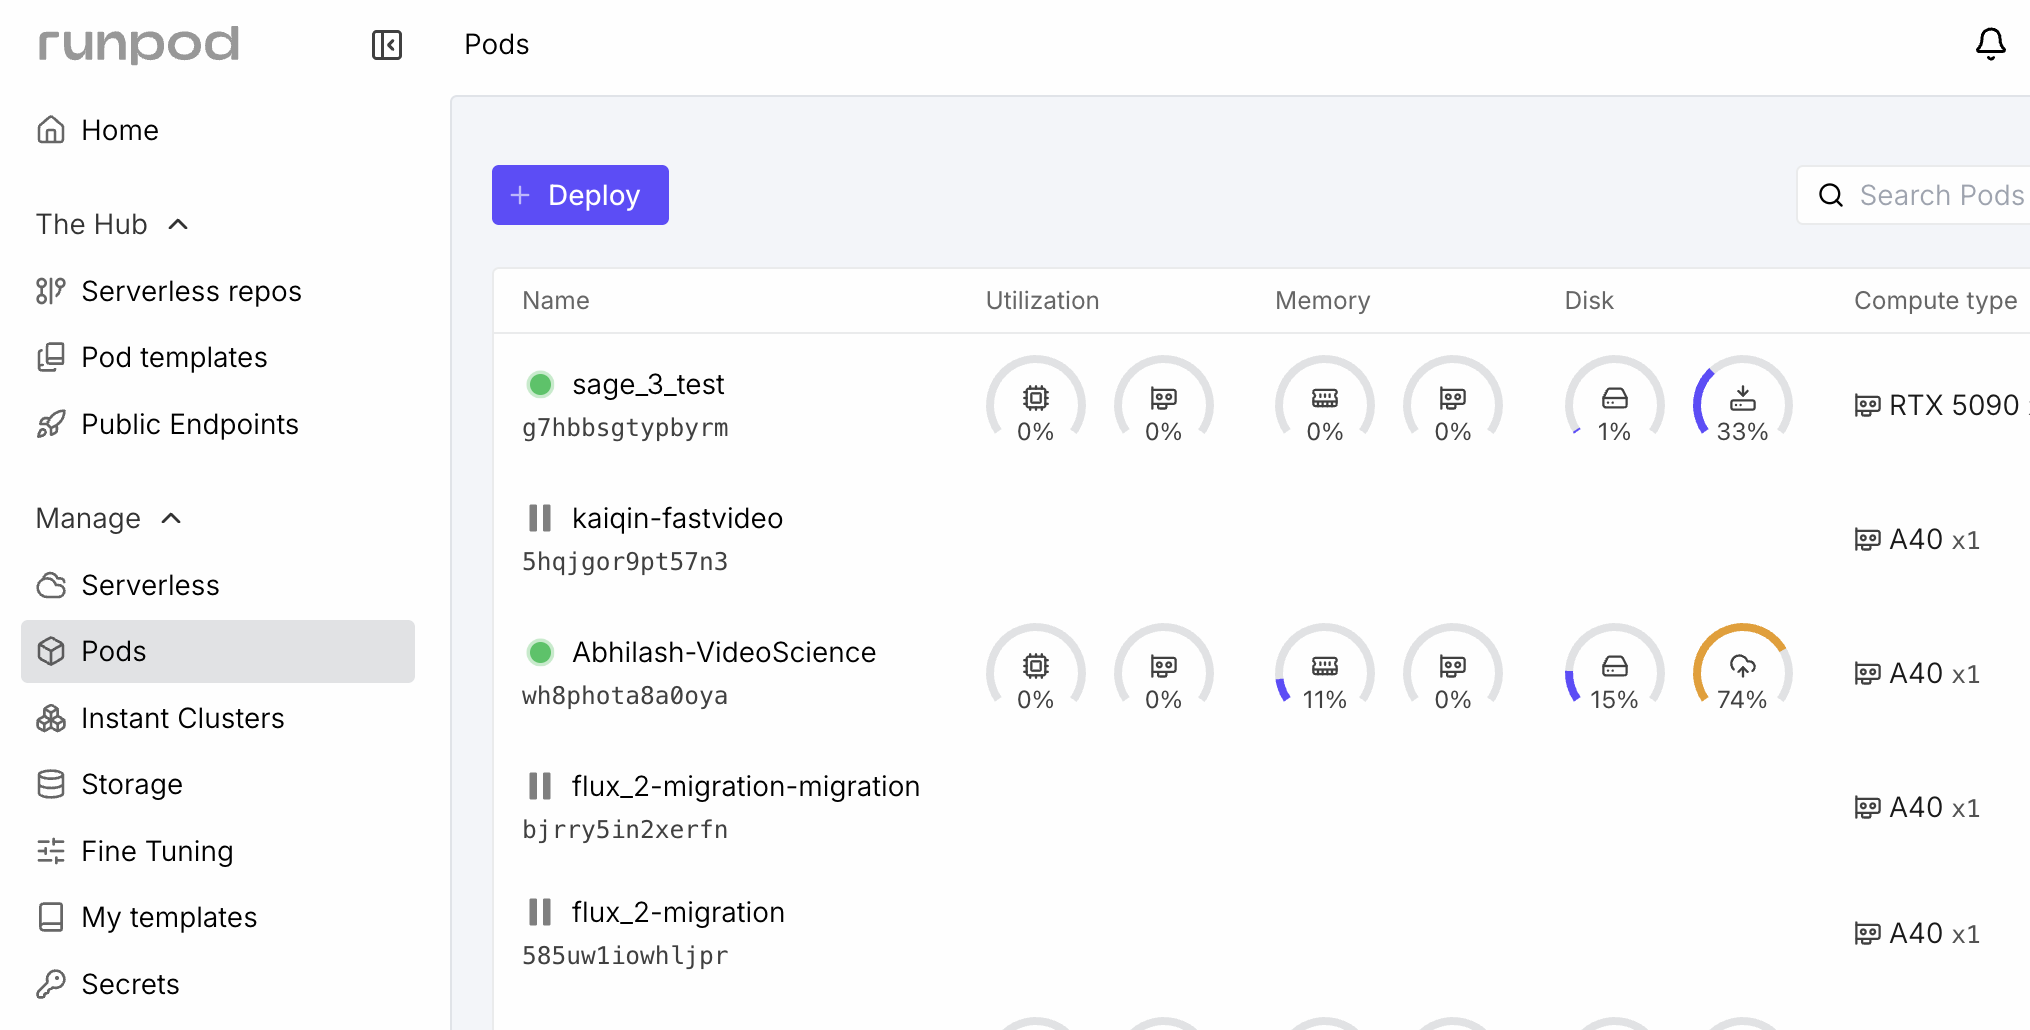
7. Deploy
Click Deploy. The pod takes a few minutes to start while the image pulls. You'll see it transition to "Running" in your dashboard.
Step 2: Connect via SSH
Once the pod is running, find the "SSH over exposed TCP" connection string in the pod dashboard.
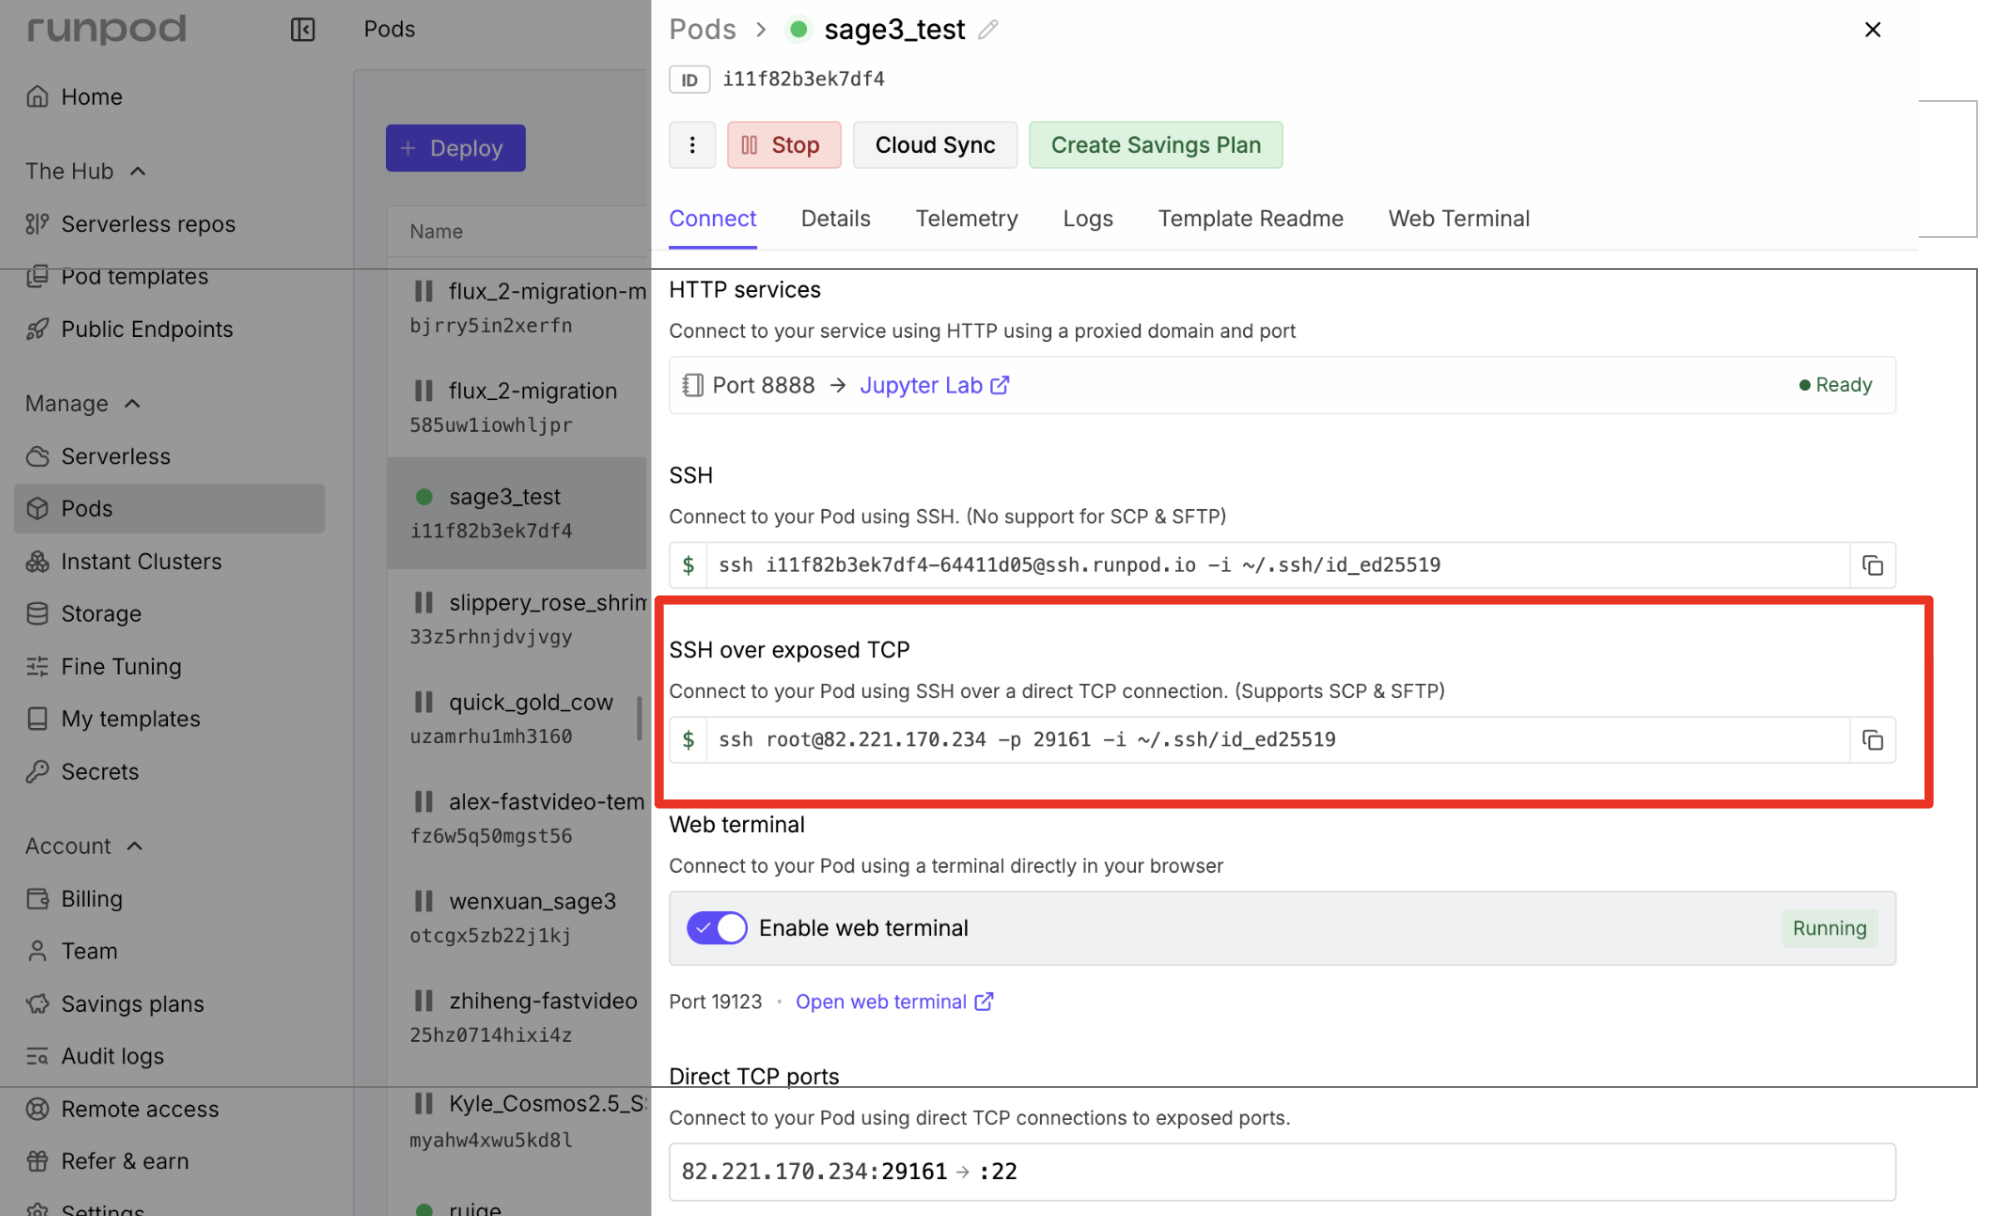
Connect with:
RunPod also supports VS Code Remote SSH if you prefer an IDE.
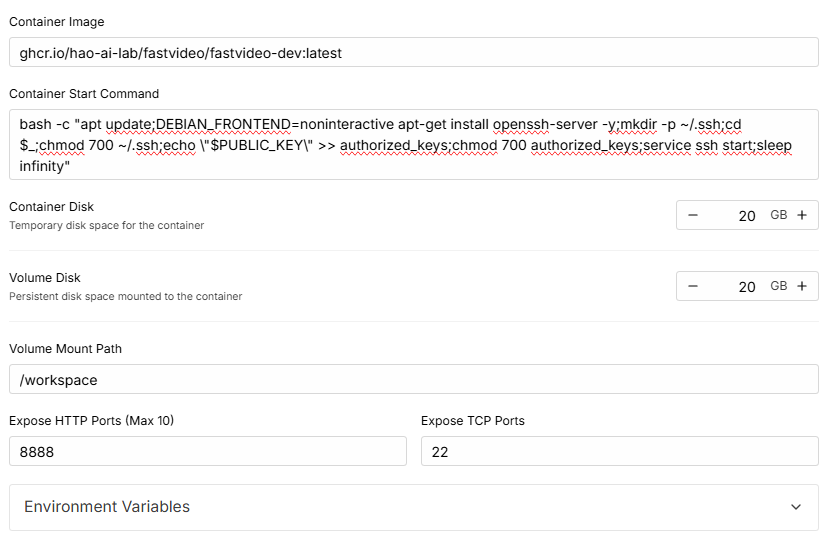
Custom template (advanced)
If you're setting up a pod from scratch instead of the FastVideo template, use this image:
This default tag uses CUDA 12.6.3 with the cu126 PyTorch backend. Use py3.12-cuda13.0.0-latest instead when the pod specifically needs the CUDA 13 and cu130 image.
And paste this as the Container Start Command to enable SSH (RunPod docs):
bash -c "apt update;DEBIAN_FRONTEND=noninteractive apt-get install openssh-server -y;mkdir -p ~/.ssh;cd $_;chmod 700 ~/.ssh;echo \"$PUBLIC_KEY\" >> authorized_keys;chmod 700 authorized_keys;service ssh start;sleep infinity"
Step 3: Set Up FastVideo
After SSH'ing in, the uv virtual environment at /opt/venv is already activated (configured in .bashrc and .profile). You land in the /FastVideo directory.
Clone or pull the repo
If the pod already has the FastVideo repo:
If starting from a blank pod:
Install the package
This preserves the PyTorch backend selected by the Docker image. The image also includes Flash Attention and most heavy dependencies, so this is fast.
Build the custom kernels (optional)
VSA and STA attention kernels aren't in the Docker image by default. Build them if you're working on attention backends or need maximum inference performance:
The build script detects your GPU architecture automatically. An A100 or H100 takes about 5-10 minutes.
Verify the setup
Development Workflow
Editing code on RunPod
Two common approaches:
Option A: Edit on RunPod directly
Use VS Code Remote SSH or vim/nano on the pod. Commit and push when you're ready:
Option B: Edit locally, sync to RunPod
Work in your local repo, then pull on the pod:
This keeps your local tools (editor, linters) intact while running GPU workloads on the pod.
Running linters and tests
# Lint
pre-commit run --all-files

# Full test suite
pytest tests/

# Just package tests
pytest fastvideo/tests/ -v
Storing models
If you attached a persistent volume, point your model downloads there:
Add these to /root/.bashrc so they persist across SSH sessions. The volume survives pod termination, so you only download models once.
Terminating the pod
When you're done, push any commits you want to keep. RunPod does not save pod storage after termination.
Go to your RunPod dashboard, click "Terminate", then "Delete". A pod that's stopped but not deleted still charges you for storage. Fully delete it to stop all charges.
GPU Recommendations
| GPU | VRAM | Good for |
|---|---|---|
| RTX 4090 | 24 GB | Inference testing, small model fine-tuning, quick iteration |
| A40 | 48 GB | Mid-size training runs, 480p video generation |
| A100 (40 GB) | 40 GB | Multi-GPU inference, training with sequence parallelism |
| A100 (80 GB) | 80 GB | Large model training, 720p+ video generation |
| H100 | 80 GB | Heavy training, benchmarking, kernel development |
For most development work, a single RTX 4090 or A40 is sufficient and cost-effective. Use A100/H100 when you need to reproduce training results at scale or test multi-GPU features.